The foremost step after downloading the theme from themeforest is to Upload and Activate it.
METHOD 1 – INSTALLING THE THEME VIA WORDPRESS BACKEND #
- Download the theme package ( Themeforest Account -> Downloads -> Oshine -> All files & documentation ) from Themeforest and extract it.
- Login to your WordPress admin panel
- Go to
APPEARANCES > THEMES - Click on Upload Theme
- Upload the theme file named oshine.zip. The Theme package that you downloaded from themeforest is the Master file that will include Theme File, Child Theme file, Documentation and Sample Content. You have to extract this and upload the just the file named oshine.zip.
Install and Activate the theme
Common Issues while uploading the theme #
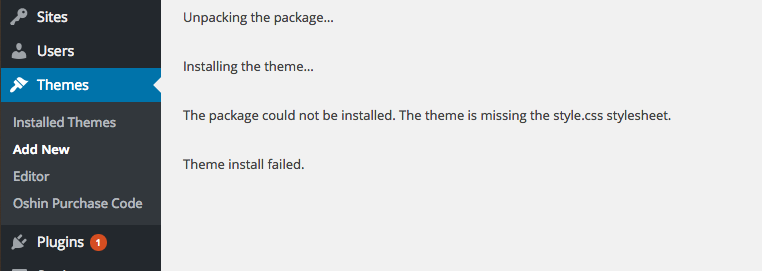
BROKEN THEME AND/OR STYLESHEETS MISSING – #
While uploading the theme via WordPress, if you are getting an error that reads Broken theme and/or stylesheets missing, kindly do not panic. This does not mean that the theme you have purchased is broken, it simply means it has been uploaded incorrectly. Please ensure that you upload the correct file which is ‘oshine.zip’.

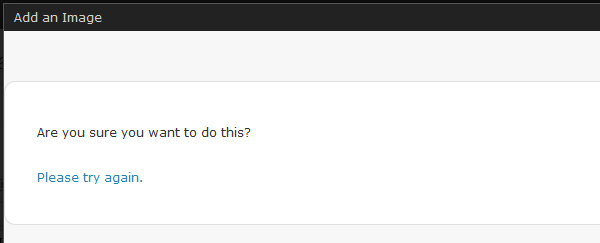
ARE YOU SURE YOU WANT TO DO THIS? – ERROR #
While uploading the theme via WordPress, if the upload is unsuccessful with the error message ‘Are you sure you want to do this? Please Try Again’ notice, it is likely that file upload limit is less than the theme’s file size. Kindly increase your file upload limit to around 30 MB, alternatively upload & install the theme via the FTP method described below.

METHOD 2 – INSTALLING THE THEME VIA FTP #
- Log into your Hosting server using FTP service like Filezilla
- In the Theme’s buyers package, unzip the file called oshine.zip
- Upload only the Extracted folder ‘oshin’ to the folder
WP-CONTENT/THEMES/ - To activate the theme, navigate to
APPEARANCES > THEMESin your wordpress Dashboard - Click on ‘Activate’ button under the theme name


