STEPS TO CREATE A LIGHTBOX GALLERY TYPE PORTFOLIO #
1
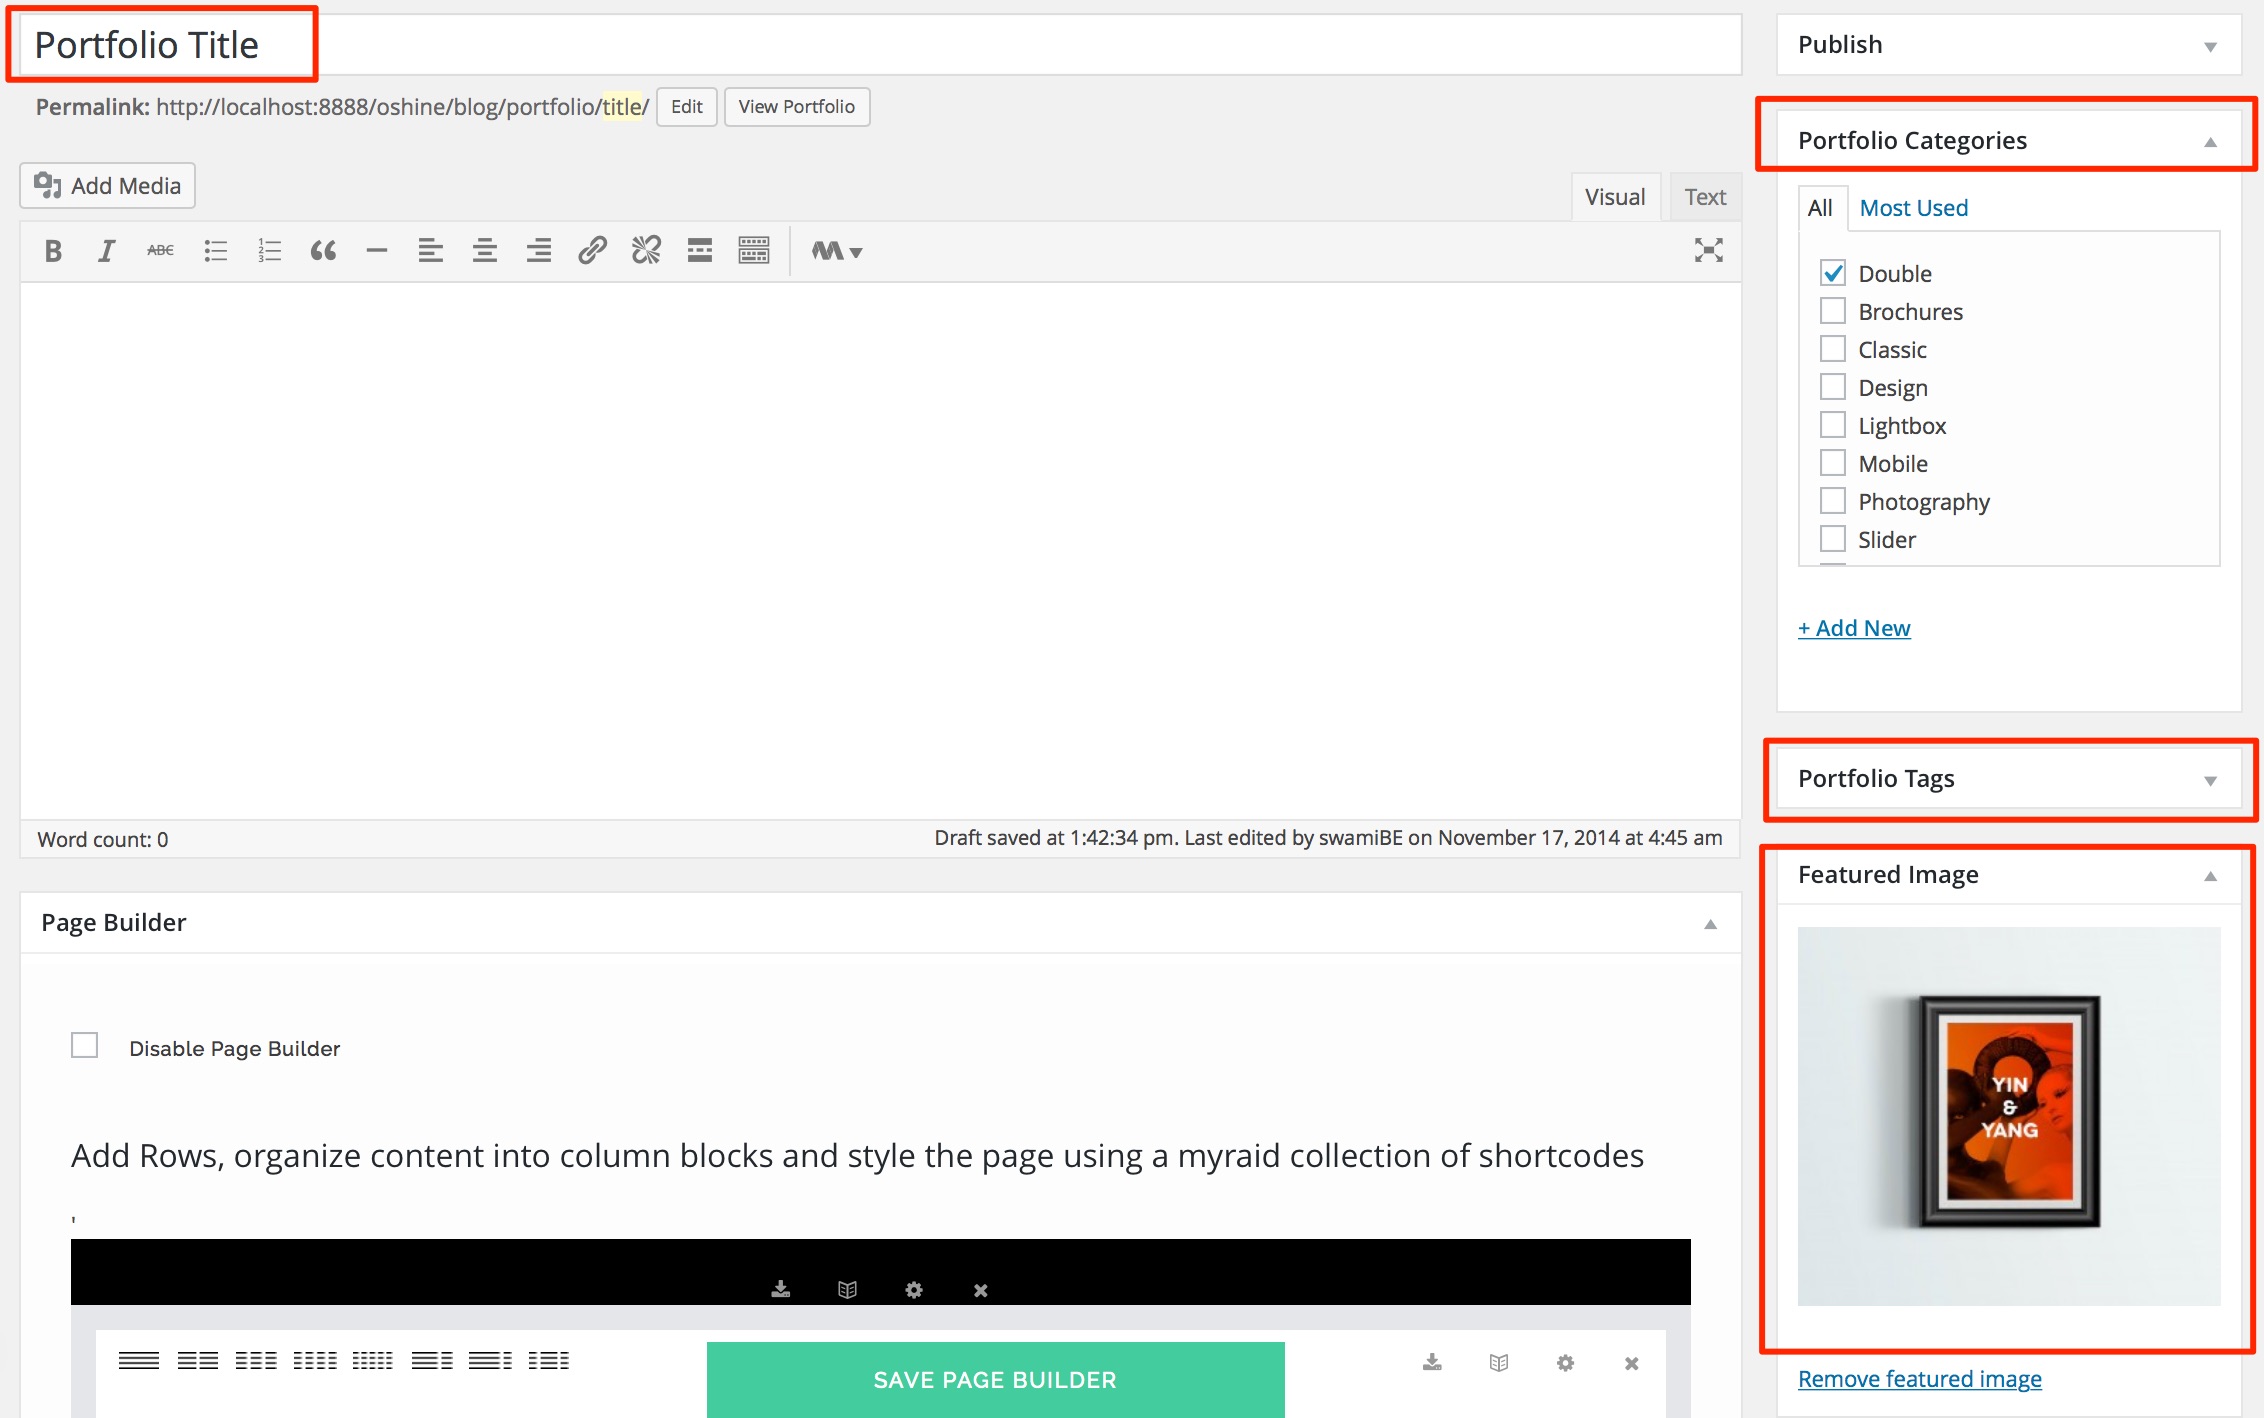
Navigate to PORTFOLIOS -> ADD NEW in your wordpress backend and create a new item by setting a Title & Featured Image. The Featured image is what will be used as a thumbnail in the Portfolio Grid. Optionally you can create & assign categories to your portfolio item.
2
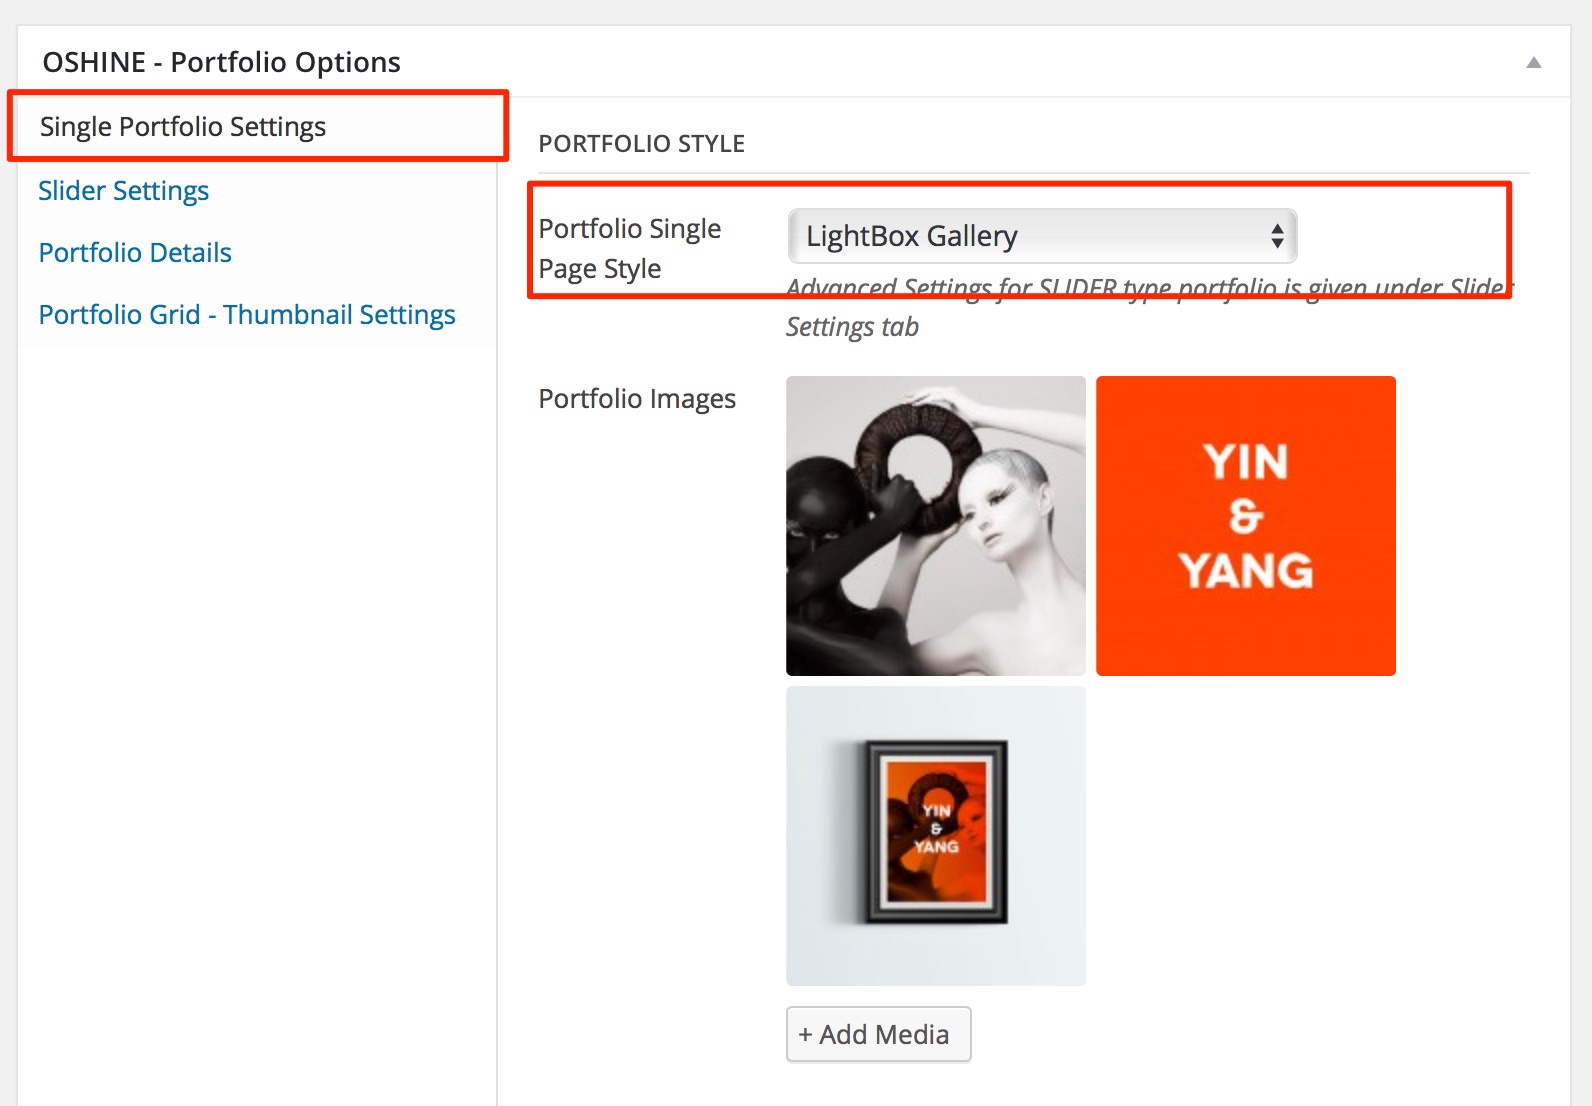
In the same edit screen of the portfolio item that you created in the above step, locate the OSHINE – PORTFOLIO OPTIONS panel ( usually located beneath the Page Builder ). In the Single Portfolio Settings Tab, set the Portfolio Single Page Style option as Lightbox Gallery.
Note – The Lightbox Type Portfolio cannot be previewed by click the View Portfolio Link in the Admin Bar. The Image will open in Lightbox only when the thumbnail is clicked on the grid
3
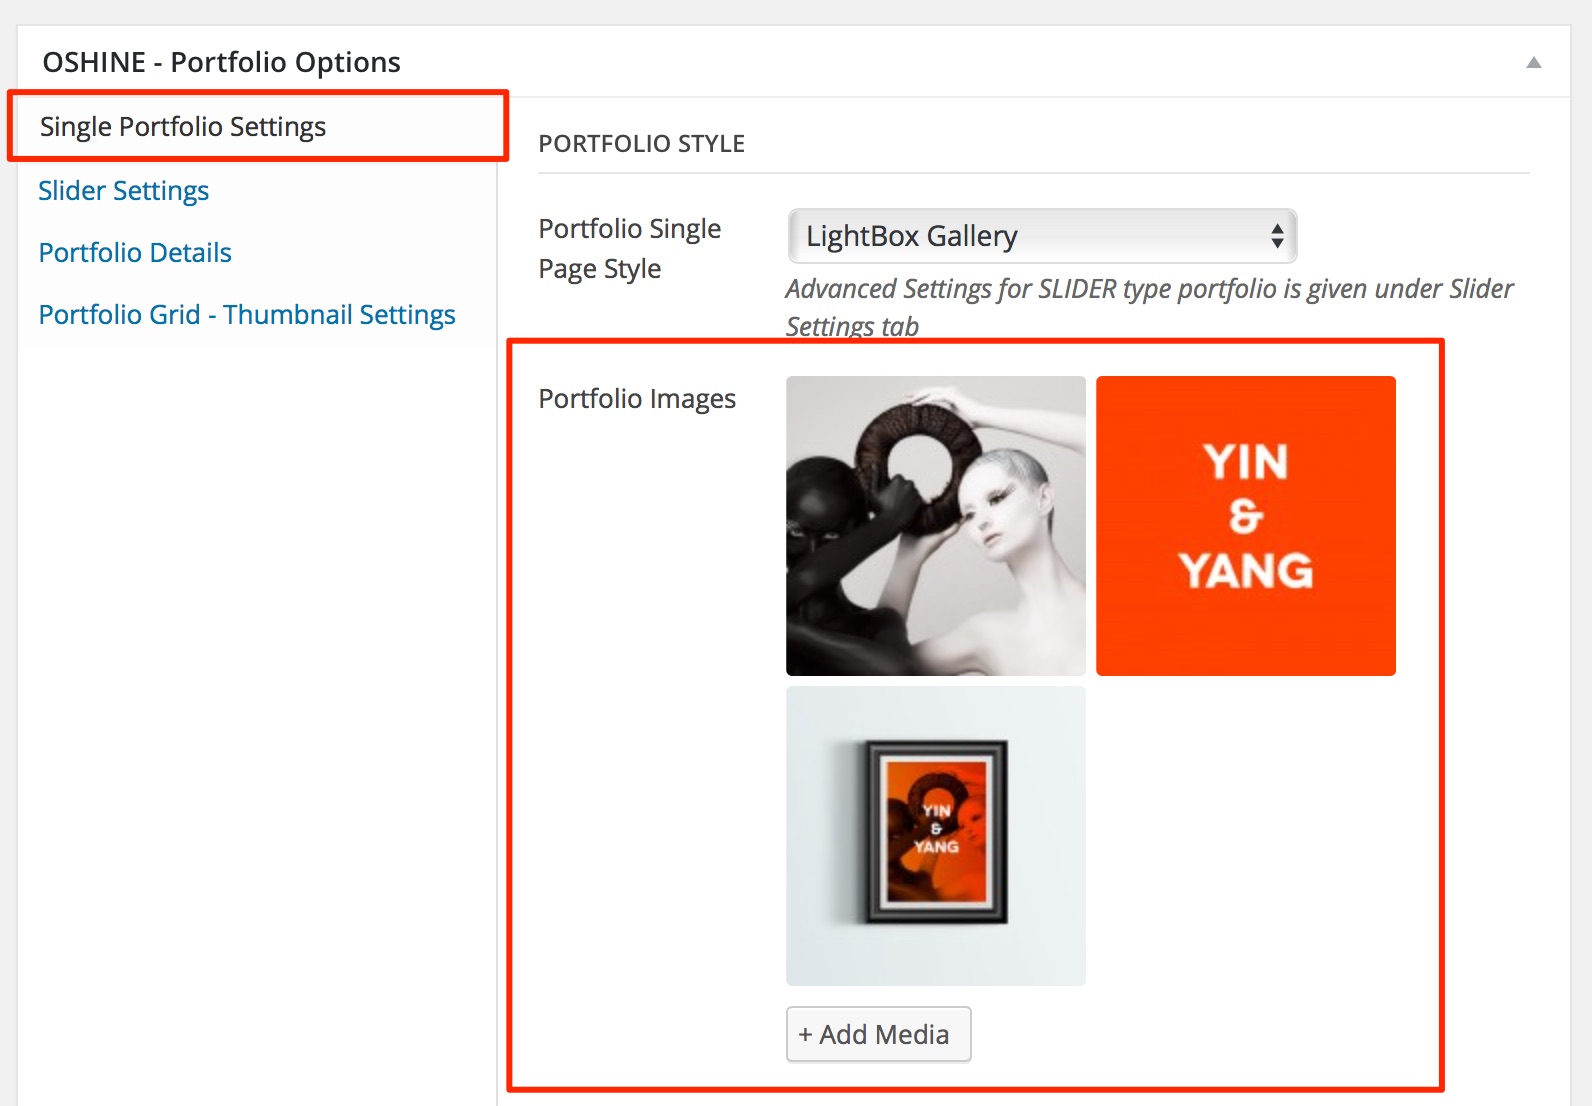
Upload the Images under the Portfolio Images option called in the Single Portfolio Settings Tab.
The images you had chosen in the above step will be displayed as a gallery in the lightbox when the thumbnail image in the grid is clicked.
4
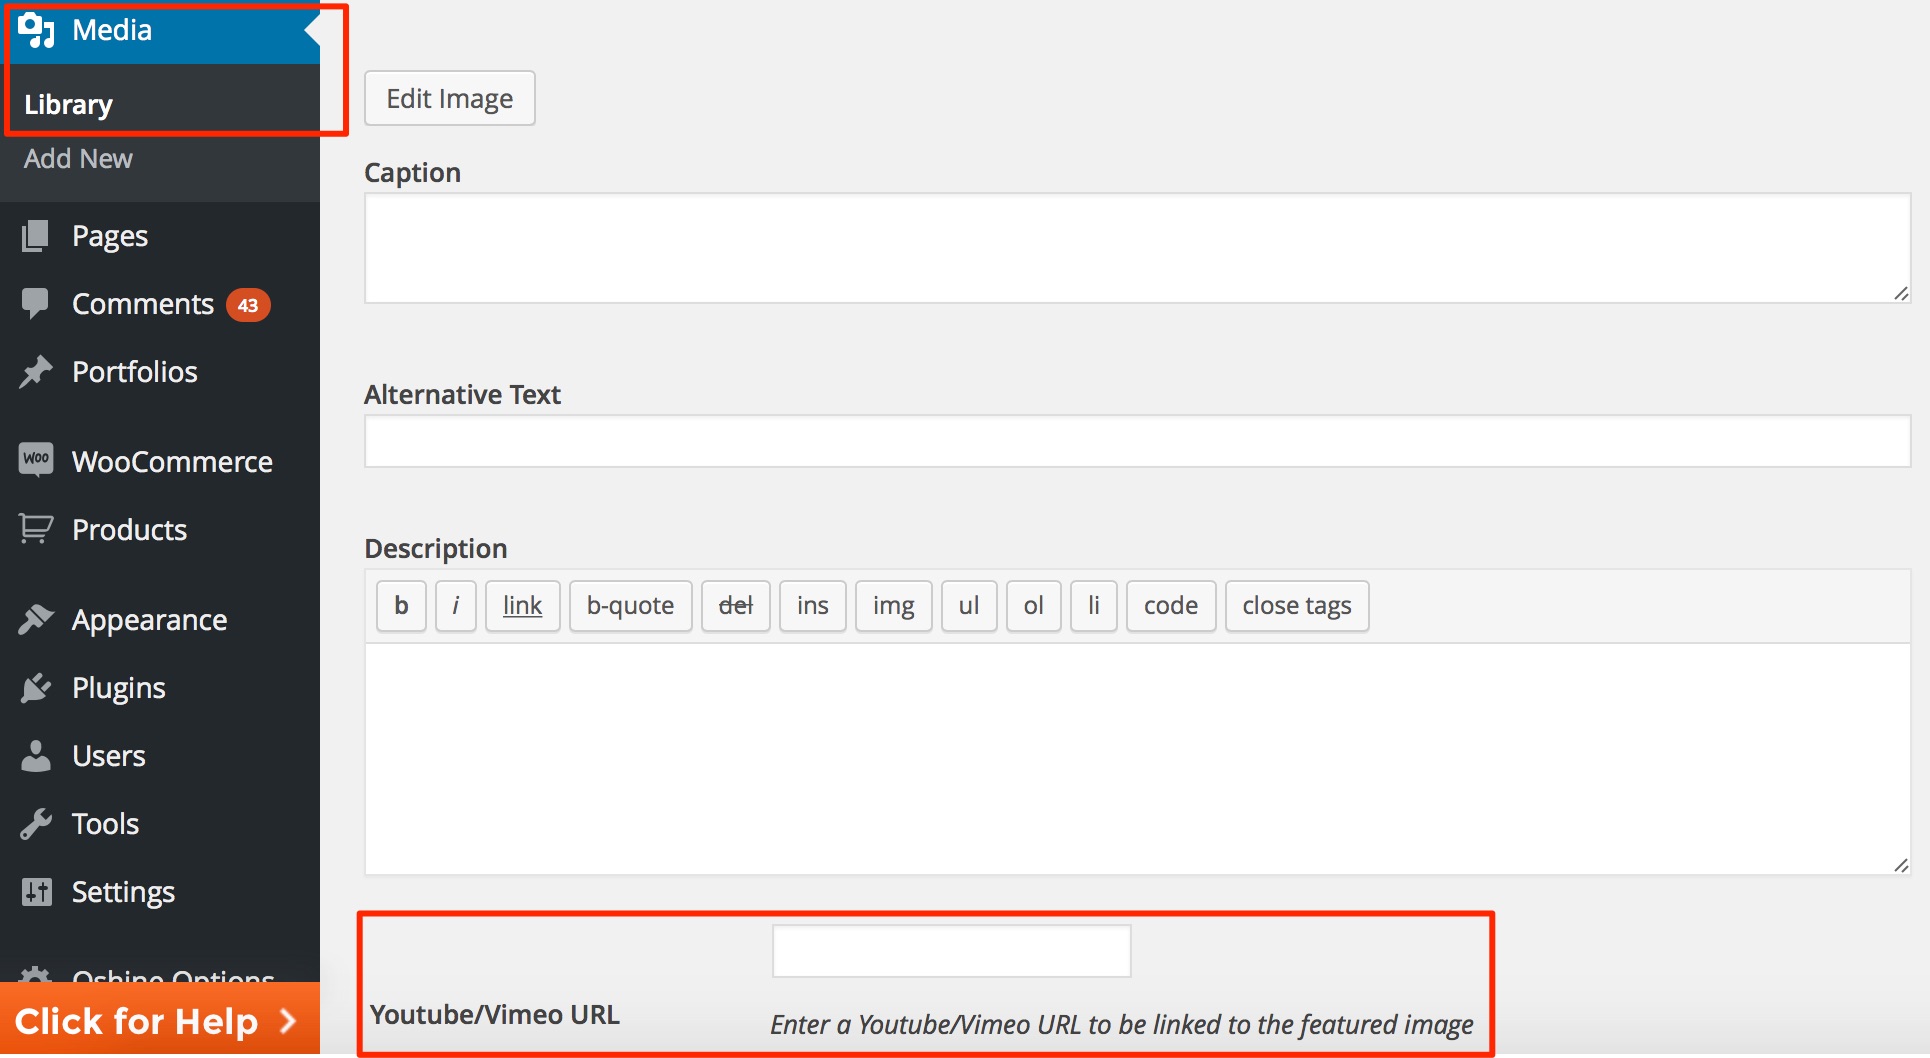
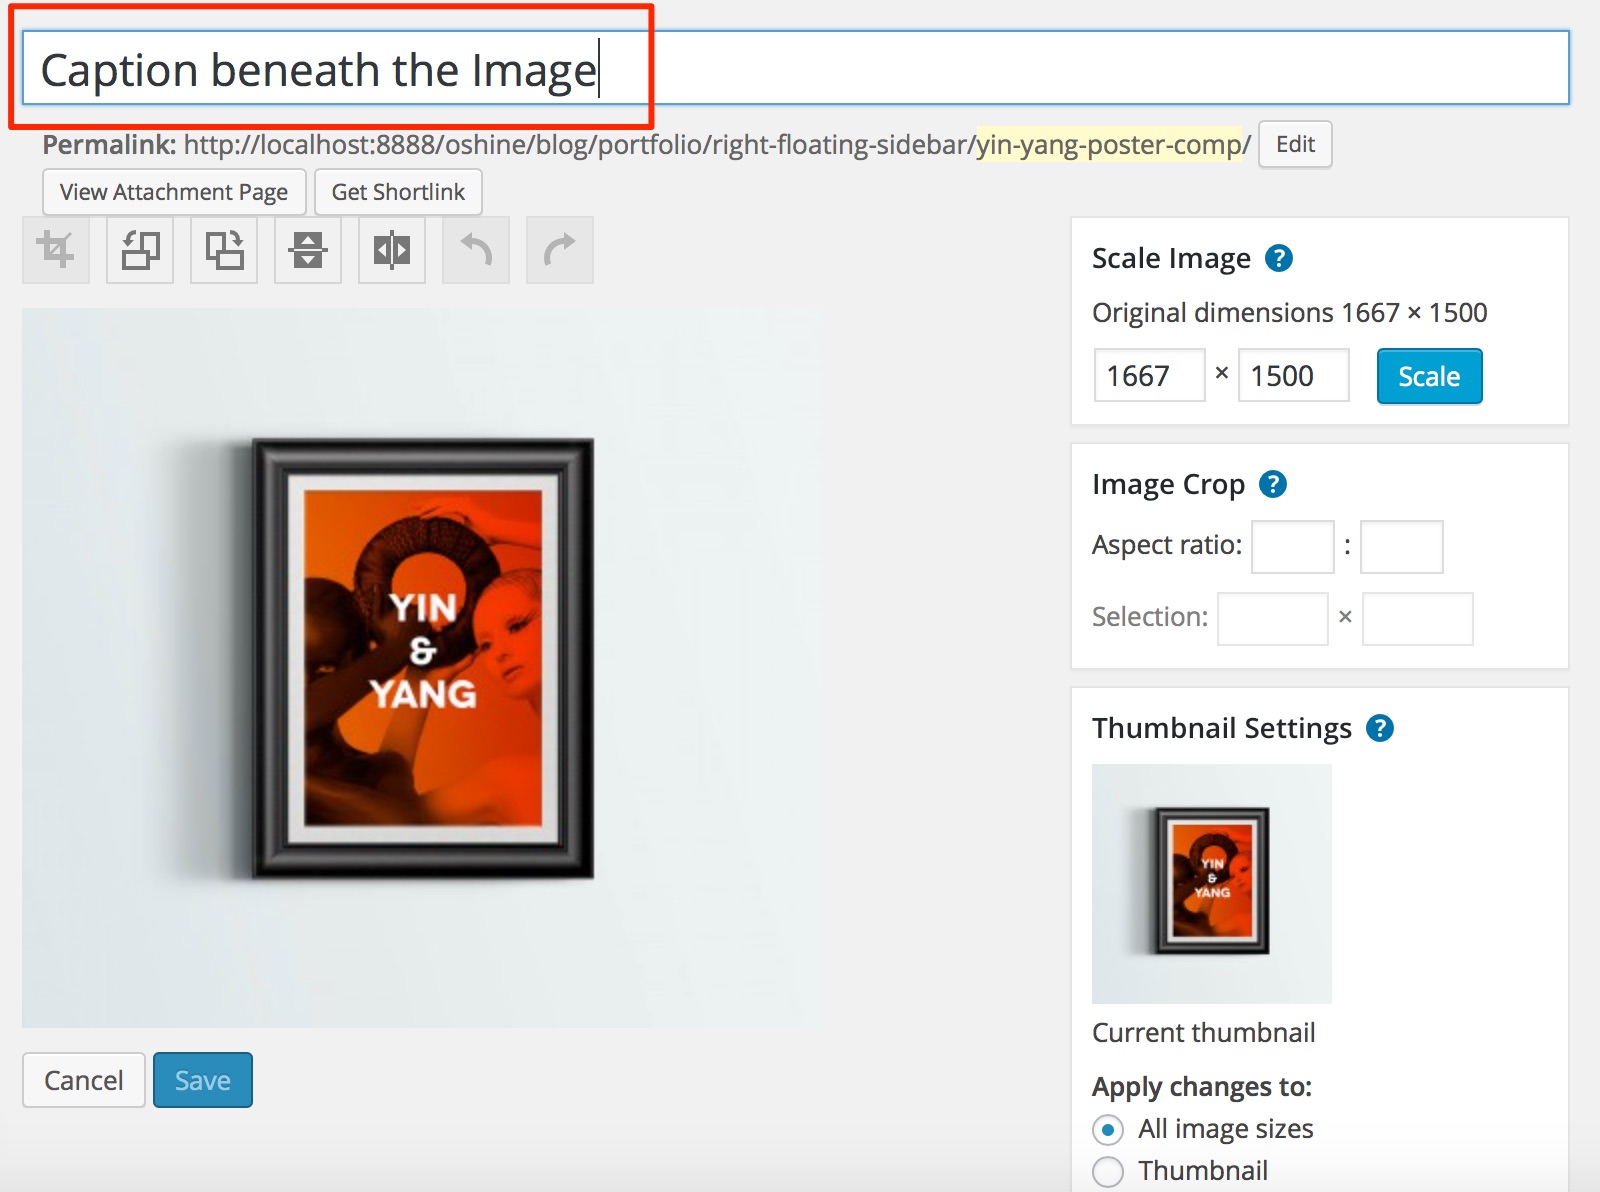
(Optional) If you would like to have a caption shown beneath the images in the lightbox, add the caption to the images uploaded in the media library and enter your caption in the TITLE field.
5
(Optional) You can assign a video to any of the lightbox images by editing the image in the media library and entering a Youtube / Vimeo url. The video will be shown in the lightbox, in place of the image you had uploaded / selected earlier.
