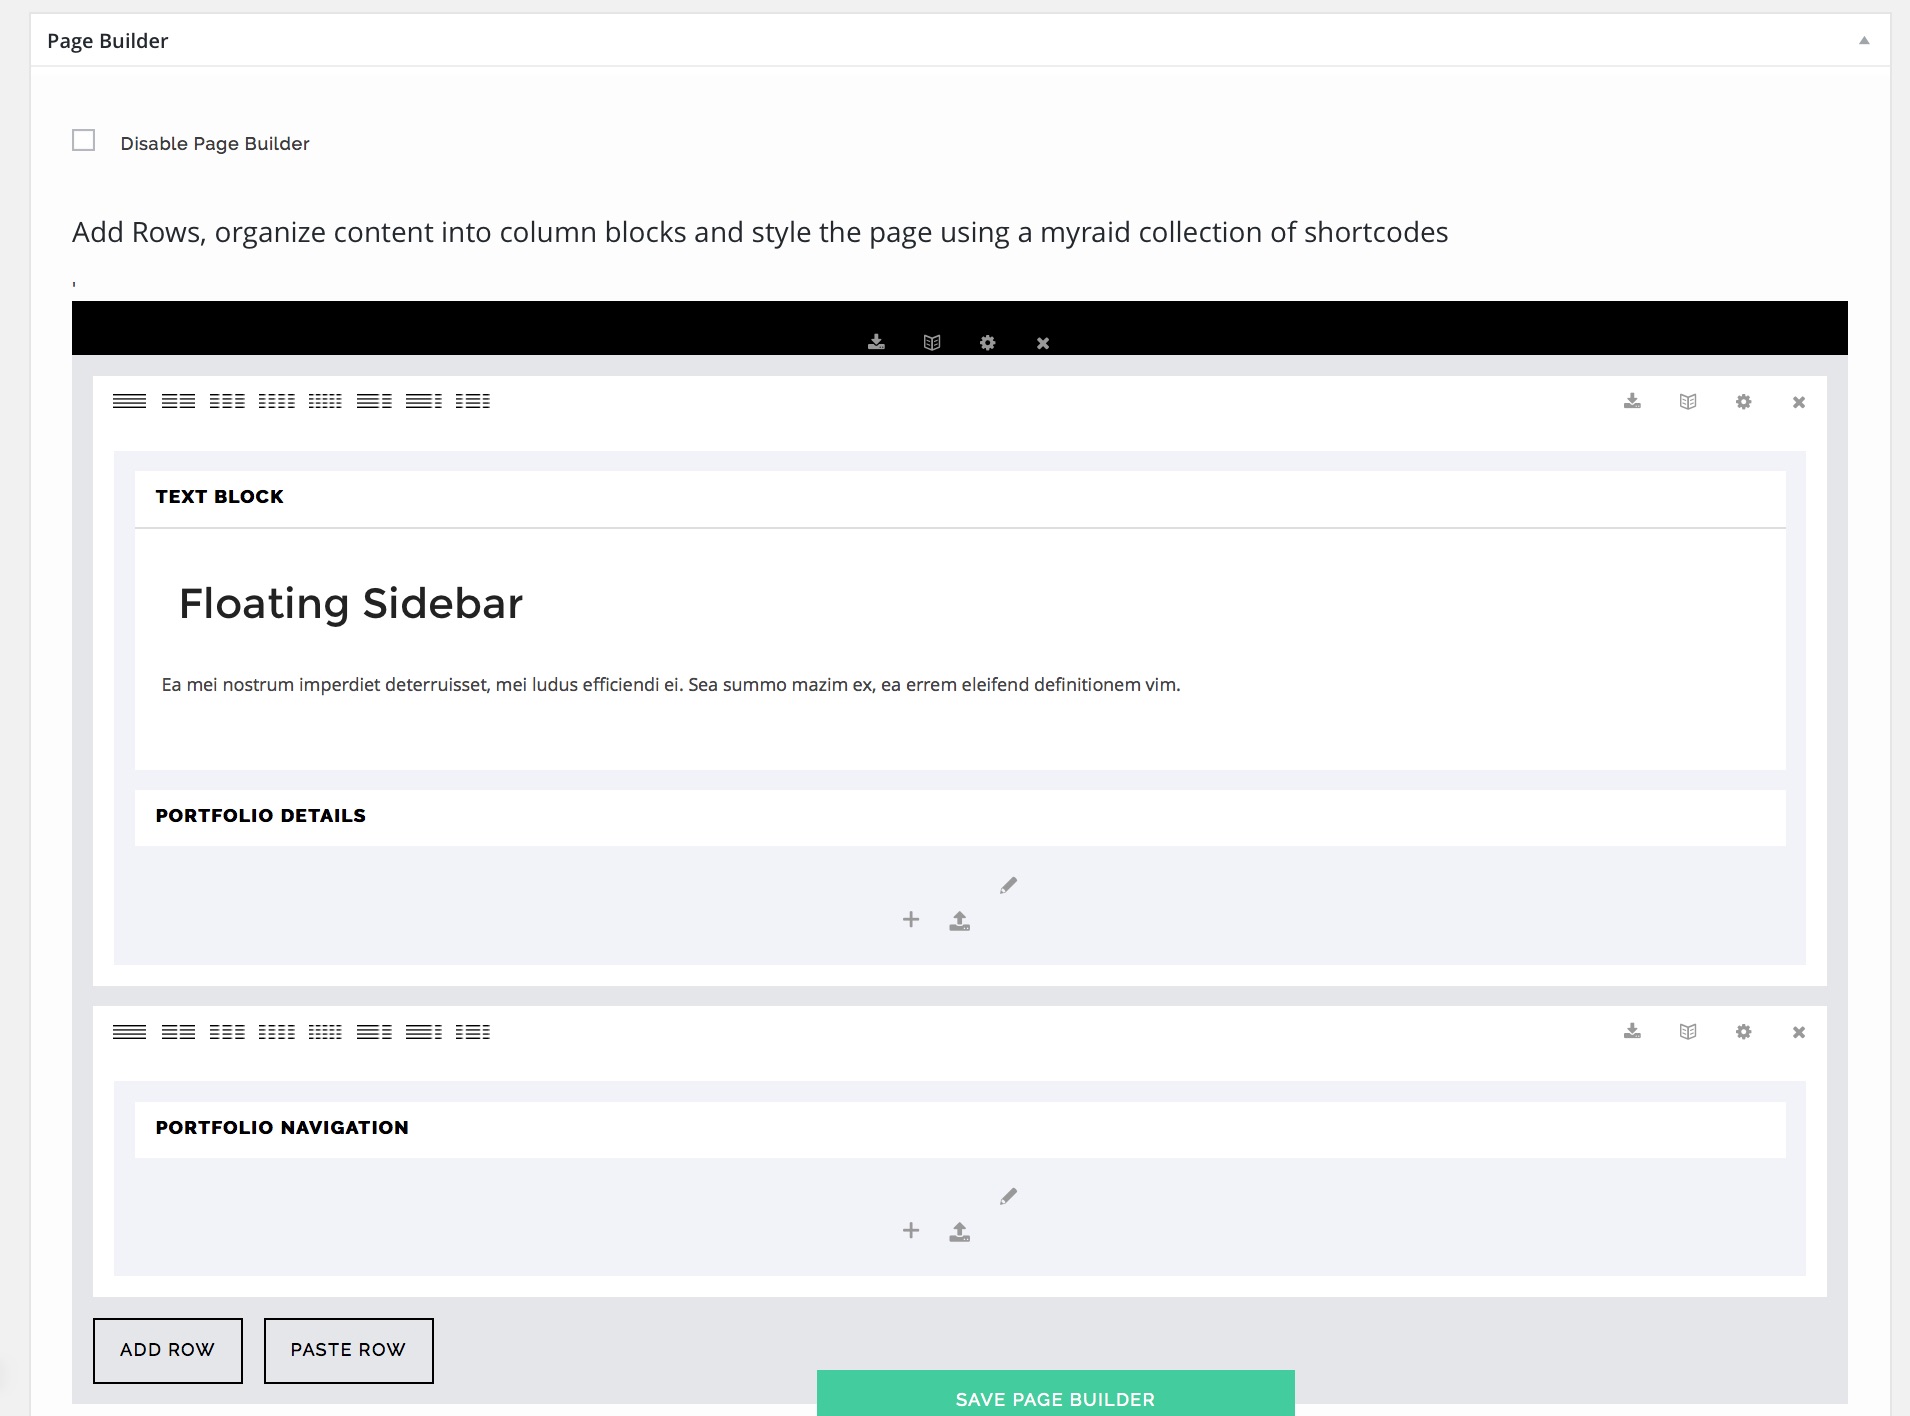
STEPS TO CREATE A RIGHT FIXED SIDEBAR PORTFOLIO PAGE #
1
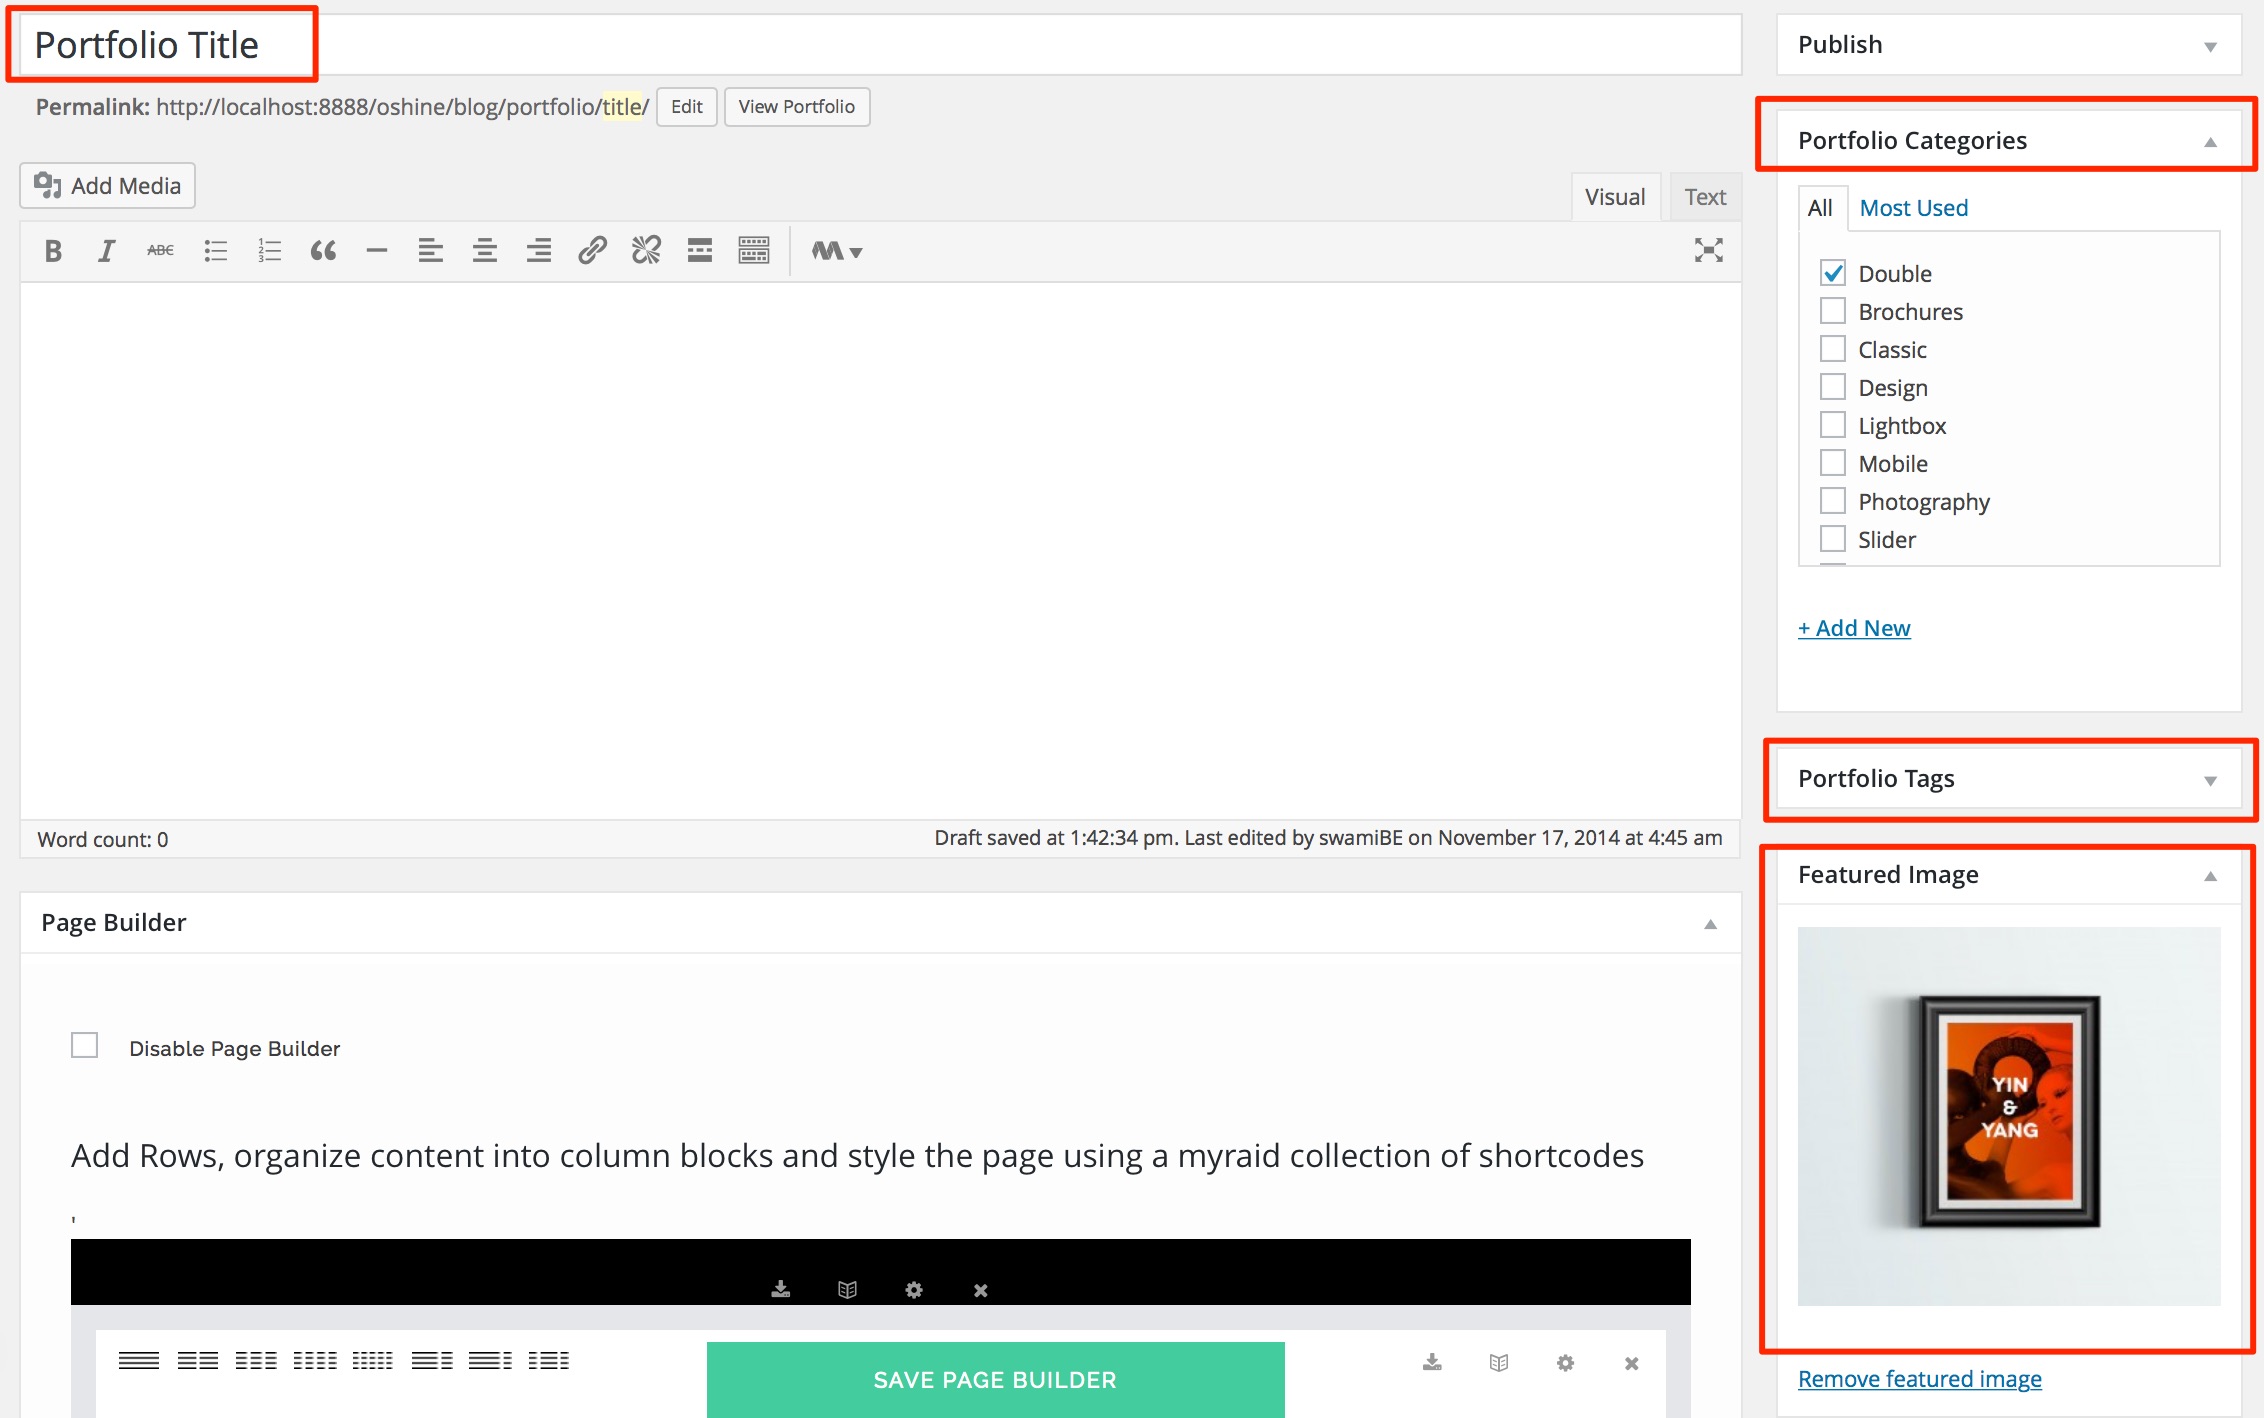
Navigate to PORTFOLIOS -> ADD NEW in your wordpress backend and create a new item by setting a Title & Featured Image. The Featured image is what will be used as a thumbnail in the Portfolio Grid. Optionally you can create & assign categories to your portfolio item.
2
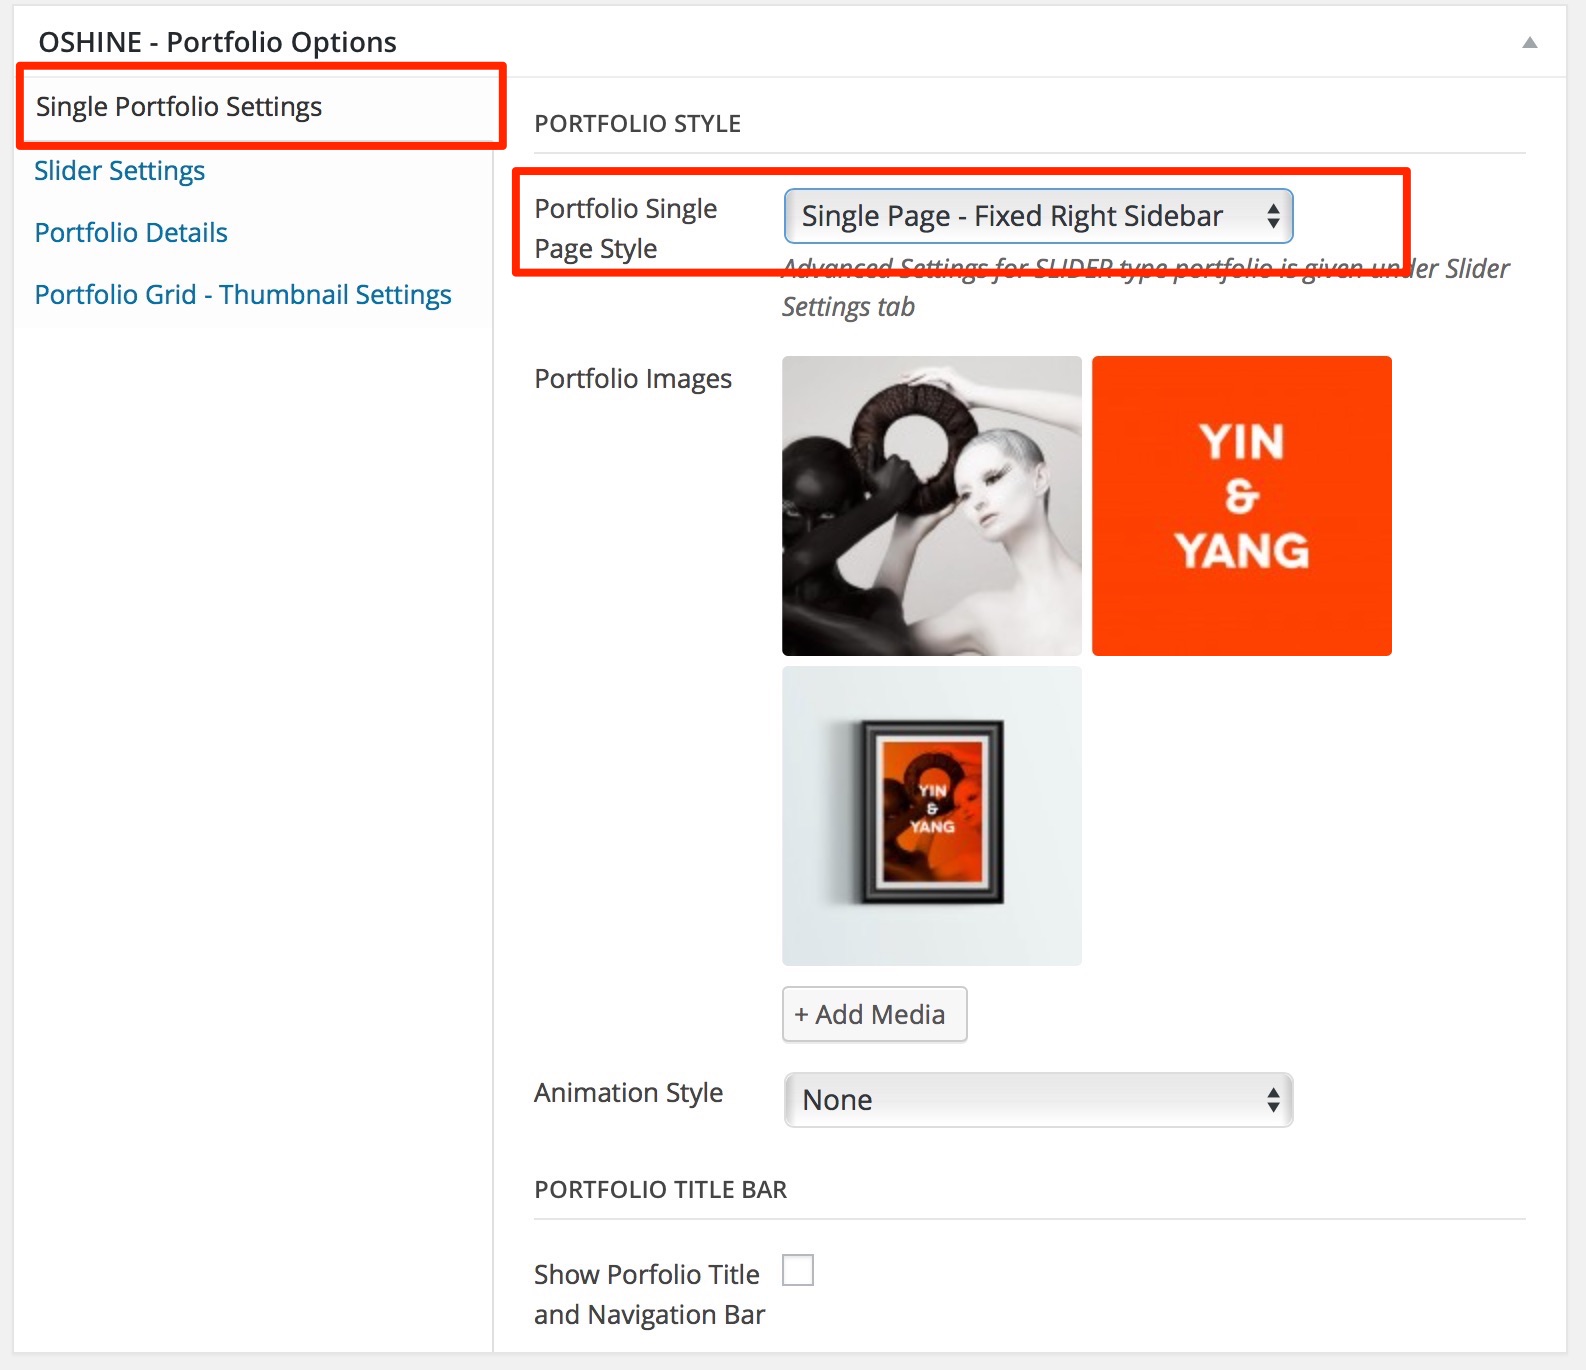
In the same edit screen of the portfolio item that you created in the above step, locate the OSHINE – PORTFOLIO OPTIONS panel ( usually located beneath the Page Builder ). In the Single Portfolio Settings Tab, set the Portfolio Single Page Style option as Single Page – Fixed Right Sidebar.
3
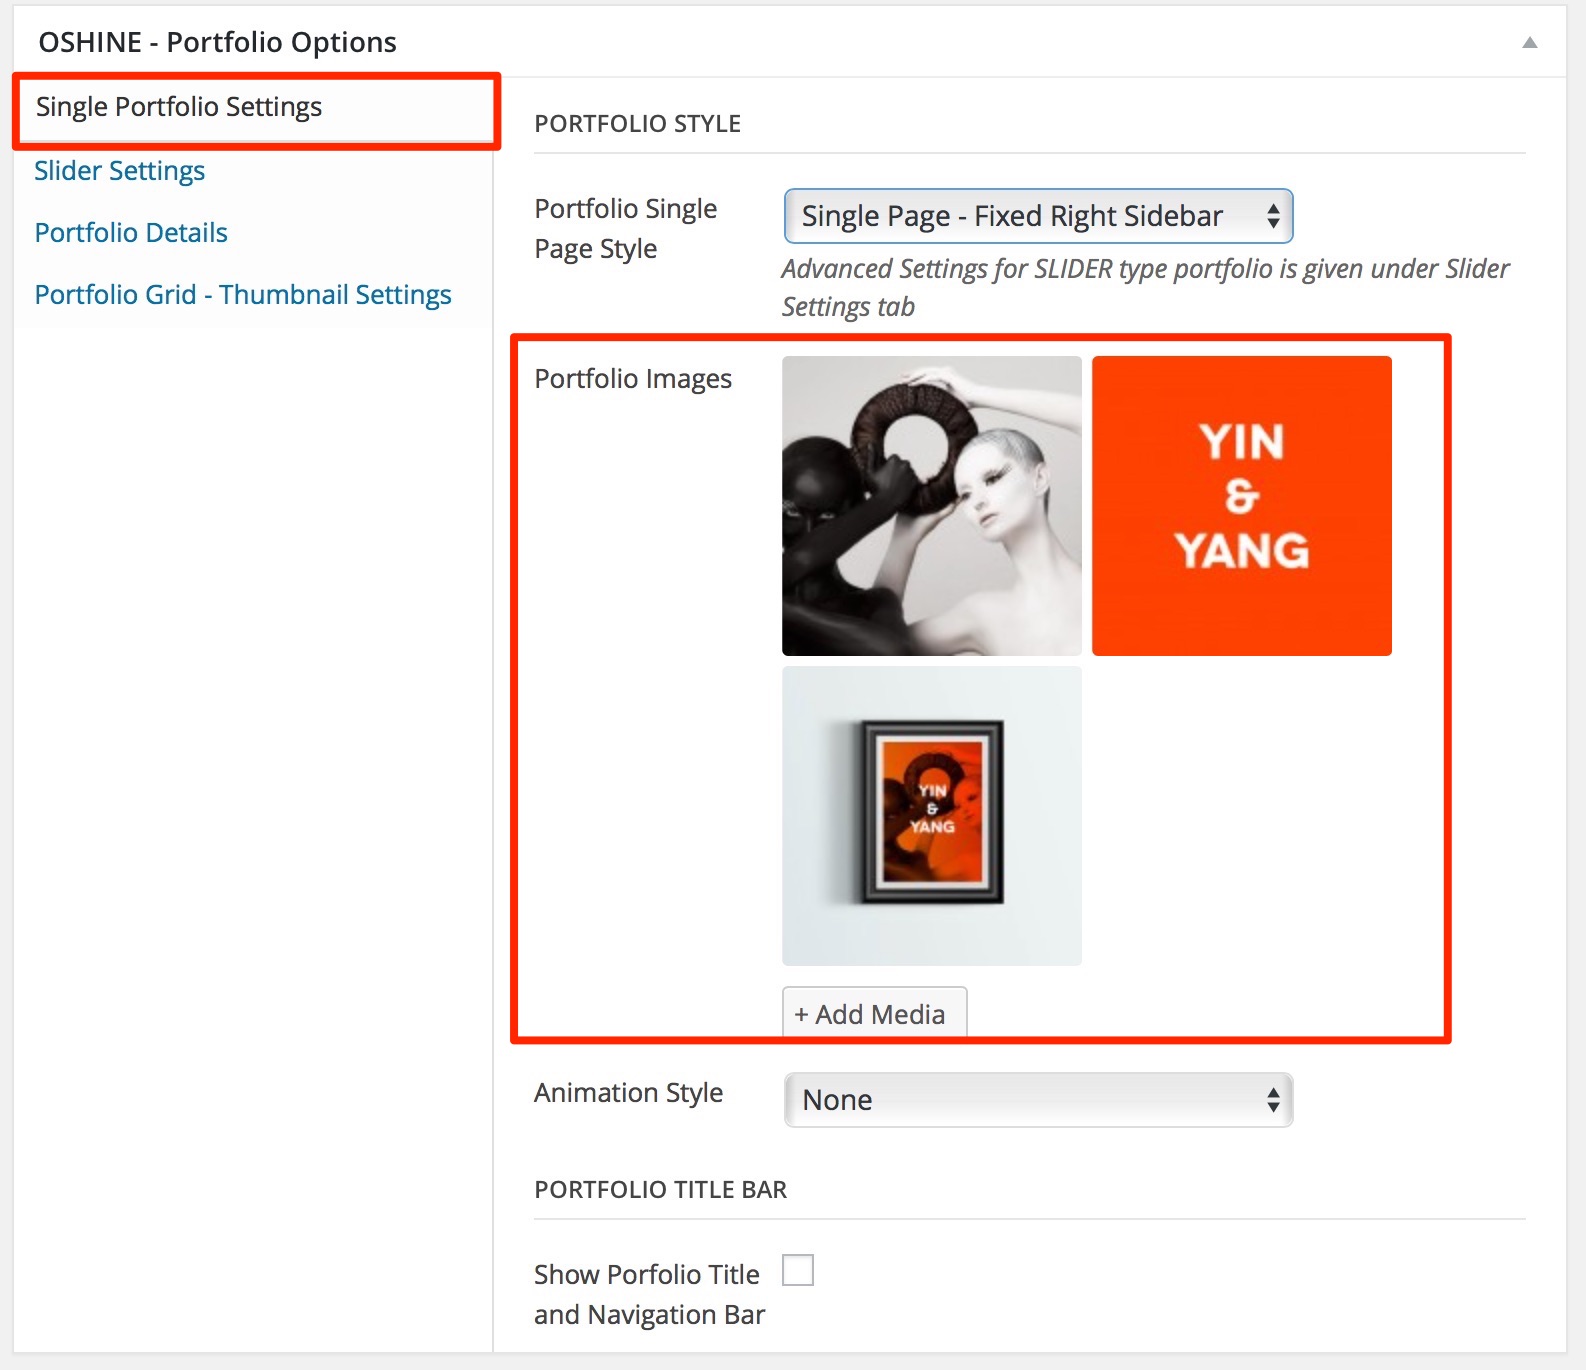
Upload the Images under the Portfolio Images option called in the Single Portfolio Settings Tab.
4
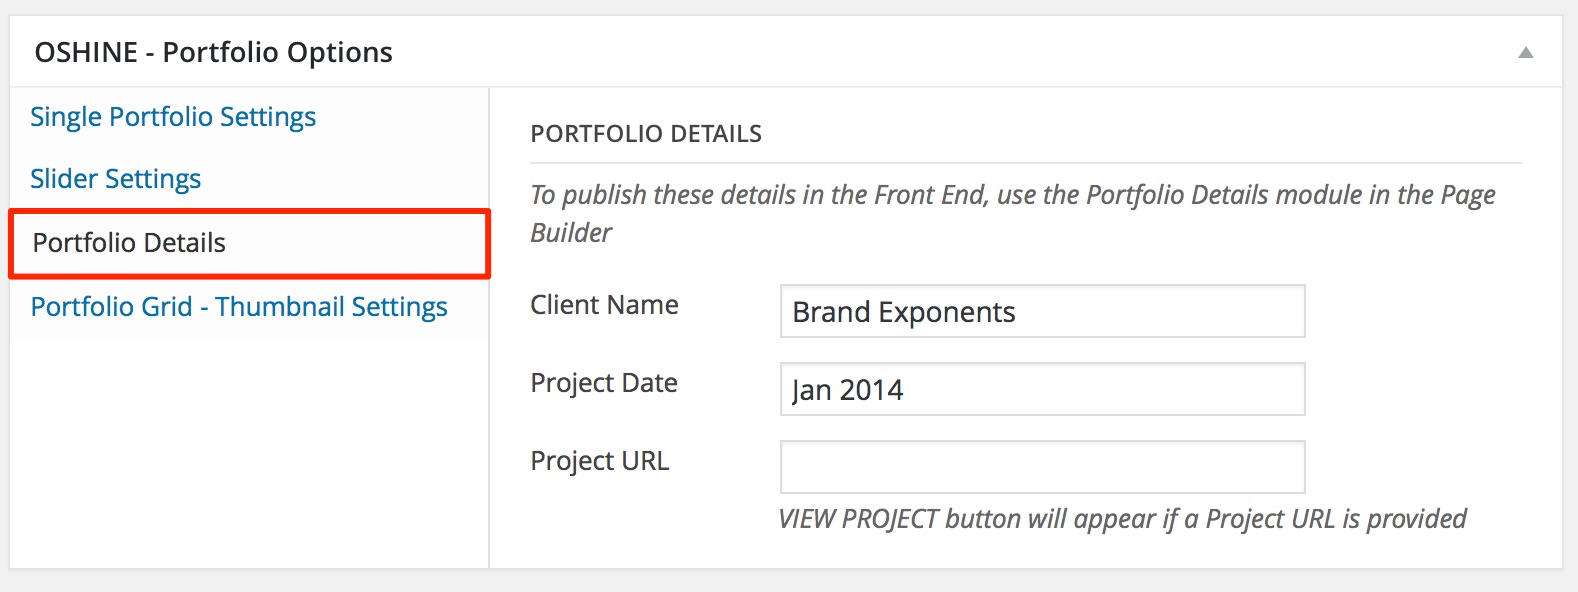
(Optional) The Project Details should be entered in the Portfolio Details Tab .
5
The content to be shown in the floating sidebar should be entered in the Page Builder ( if enabled ) or in the default content editor. You can use the PORTFOLIO DETAILS module in the Page Builder to publish information such as Clients , Project date etc. that were added in Step 4.
