- Install and activate the Loco Translate plugin from the WordPress repository
![](http://oshine-knowledgebase.brandexponents.com/wp-content/uploads/2017/01/Activate.png)
2. Navigate to LOCO TRANSLATE -> PLUGINS panel from your wordpress admin area and select the theme or plugin you want to translate.
![](http://oshine-knowledgebase.brandexponents.com/wp-content/uploads/2017/01/Loco-Translate.png)
3. In the Overview tab, click New Language.
![](http://oshine-knowledgebase.brandexponents.com/wp-content/uploads/2017/01/New-Template-1024x120.png)
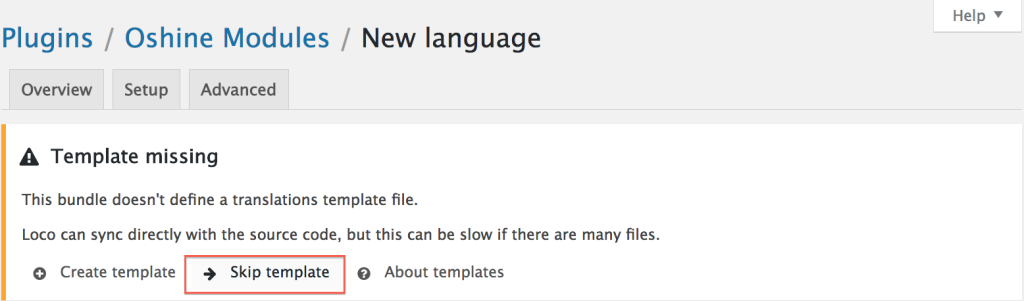
4. Skip the template creation process
![](http://oshine-knowledgebase.brandexponents.com/wp-content/uploads/2017/01/Skip-Template-1024x301.png)
5. Choose your language & choose a location. We would recommend choosing Custom the location. Click on the Start Translating Button.
![](http://oshine-knowledgebase.brandexponents.com/wp-content/uploads/2017/01/To-Translate-1024x327.png)
6. Choose the text strings you want to translate from the Source texts and Enter their translations. Once you are done translating the strings you want, click on the Save button.
![](http://oshine-knowledgebase.brandexponents.com/wp-content/uploads/2017/01/Translation-1024x505.png)
7. You will see a confirmation stating that .po and .mo files were compiled.
![](http://oshine-knowledgebase.brandexponents.com/wp-content/uploads/2017/01/Mo-and-Po-file-completed-1024x46.png)